In the previous article, which if you have not read we invite you to recover here, we have analyzed the characteristics and brands of the best back to wall sanitary ware. Now you have chosen yours, maybe you have purchased it on our site and you have come to the moment of assembly. Will you need a plumber? How to install the flush-to-the-wall sanitary ware?
Looking for the best products for your bathroom, visit our Quaranta Ceramiche website.
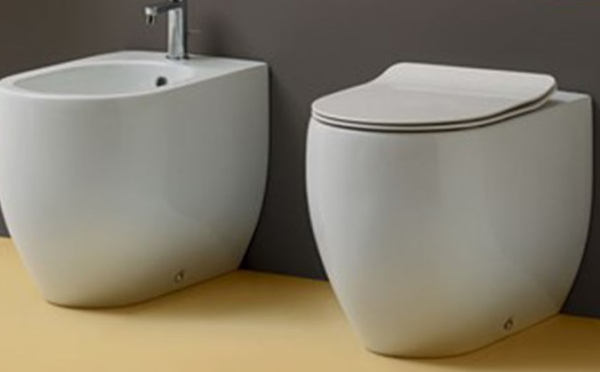
Floor fixing
In fixing our flush-to-the-wall sanitary ware, we have two methods, which vary according to the model and the manufacturer.
The first we face is the classic one which involves fixing to the floor by means of dowels that must be positioned precisely on the floor.
As a first step, insert the fittings for the drain and the water connection. Then, always carefully following the technical sheets that illustrate how to install the sanitary ware flush with the wall, fix the anchors or brackets included with the sanitary fixtures to the floor.
At this point you can proceed by placing the sanitary ware, carefully without risking scratching tiles or ceramics.
When the vessel is in position and the fittings are all well inserted, carry out a first check by slightly opening the water drain.
If you check that there are no leaks, then also proceed with a complete water drain. If also in this case there are no leaks and everything flows smoothly, proceed to insert the fixing screws and, but this is optional, a silicone thread to seal everything.
Looking for the best products for your bathroom, visit our Quaranta Ceramiche website.
Hidden wall fixings
This version is the most modern and most popular in the latest series of back to wall sanitary ware. The installation system with wall fixings simplifies the operation and avoids risky holes in the floor.
Also in this case we proceed to connect all the bends and fittings necessary for the drains.
Then retrieve the fixing kit included with your bathroom fixtures. Following the technical data sheet you will have to proceed to drill the wall and place the fixing system to which the vase will be anchored without further particular efforts.
At this point, as in the previous case, you can apply a silicone thread to seal. Easy isn’t it?
This system, in addition to saving time and holes in the floor, also allows quick disassembly of the toilet in case of checks or maintenance needs.
Looking for the best products for your bathroom, visit our Quaranta Ceramiche website.
Conclusions
Installing a flush-to-wall toilet is not particularly complicated and is within the reach of all those who know how to follow the instructions and are equipped with the right equipment.
Unlike suspended sanitary ware, there are no preliminary works that require higher technical skills, so you can proceed safely.